Biner Blocks and Pull Cord Techniques for Backcountry Canyoneering
Knowing how to rig a carabiner block (biner block) and pull cord allows for retrievable single-rope rappels, creating several advantages for the backcountry canyoneer. Not only can you carry less rope with this technique, you can reach longer rappels with any given weight of rope. A BLOCK is a way of attaching the rope to an anchor so it can be retrieved.
The normal "climber" method of setting up a rappel is to thread the rope through the anchor and rappel on both strands. This is a simple, straightforward method, and works in a lot of cases.
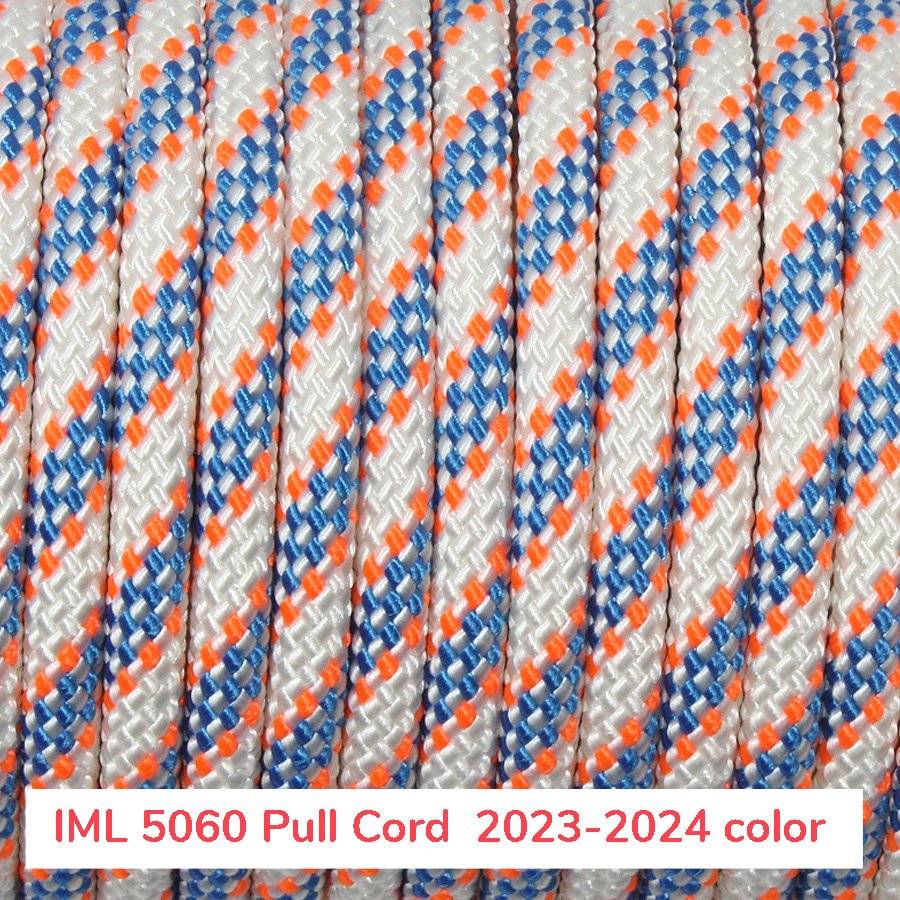
Using a block, the canyoneer can rappel single strand on the rope, then pull the rope using a lighter line, such as a 6mm pull cord. This saves weight and adds flexibility. Combined with the use of rope bags, these methods can be quite a bit quicker than the "climber" method.
There are two "normal" ways to block the rope for rappelling—the knot block, and the biner block. In both cases, a block is placed against a metal ring, either a rappel ring or a rapid link. Many canyoneers carry a few rapid links (also known as "Rapides") to place on anchors as they descend canyons.
Knot block or Biner block, it is VERY IMPORTANT that it is PHYSICALLY IMPOSSIBLE for the blocking knot or carabiner to pull through the Rapide or Rappel Ring it is blocked against. In Zion especially, there are some mighty big rapid links left on some of the rappels—be careful out there.
THE TECHNIQUES:
A Knot Block Against a Rapide.
Caution must be taken that:
A. the knot cannot pull through the rapid link or ring; and
B. the knot does not pull into the rapid link or ring and jam.
A Knot Block Against a Rapide, with the knot safetied off (clipped) to the anchor:
IF your group has more than a few people, or includes beginners, it is a good idea to clip the knot loop to the anchor, to safety it off.
Sometimes in the confusion of getting people on rappel, beginners will hook up their rappel to the "wrong" side of the block, and try to rappel the un-blocked side. Sometimes experts will try this same trick. To prevent this from being catastrophic, safety off the knot (for every person but the last). It also helps to NOT toss the retrieval-side rope bag down until the end, so there is only one strand of rope heading downward.
Knot Blocks are commonly used in Europe (I am told), but we rarely use them here in the US of A. I don't like them because, with our small ropes and potentially largish rings, the knot has a tendency to get stuck in the rappel ring, and then resist the pull down. Instead, we add a Carabiner to the mix to produce...
A Carabiner Block Against a Rapide:
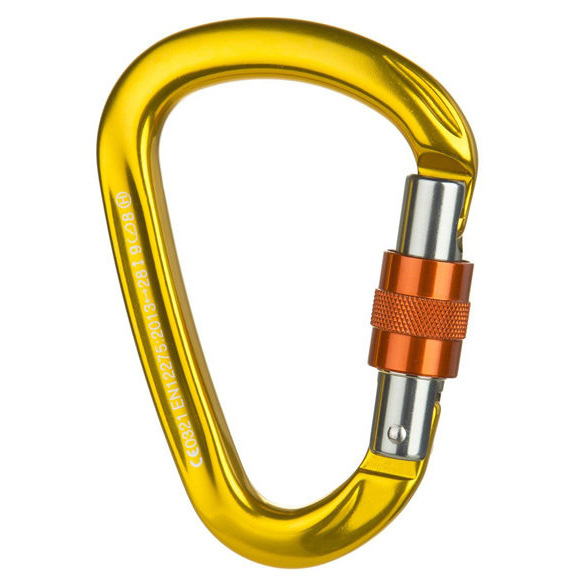
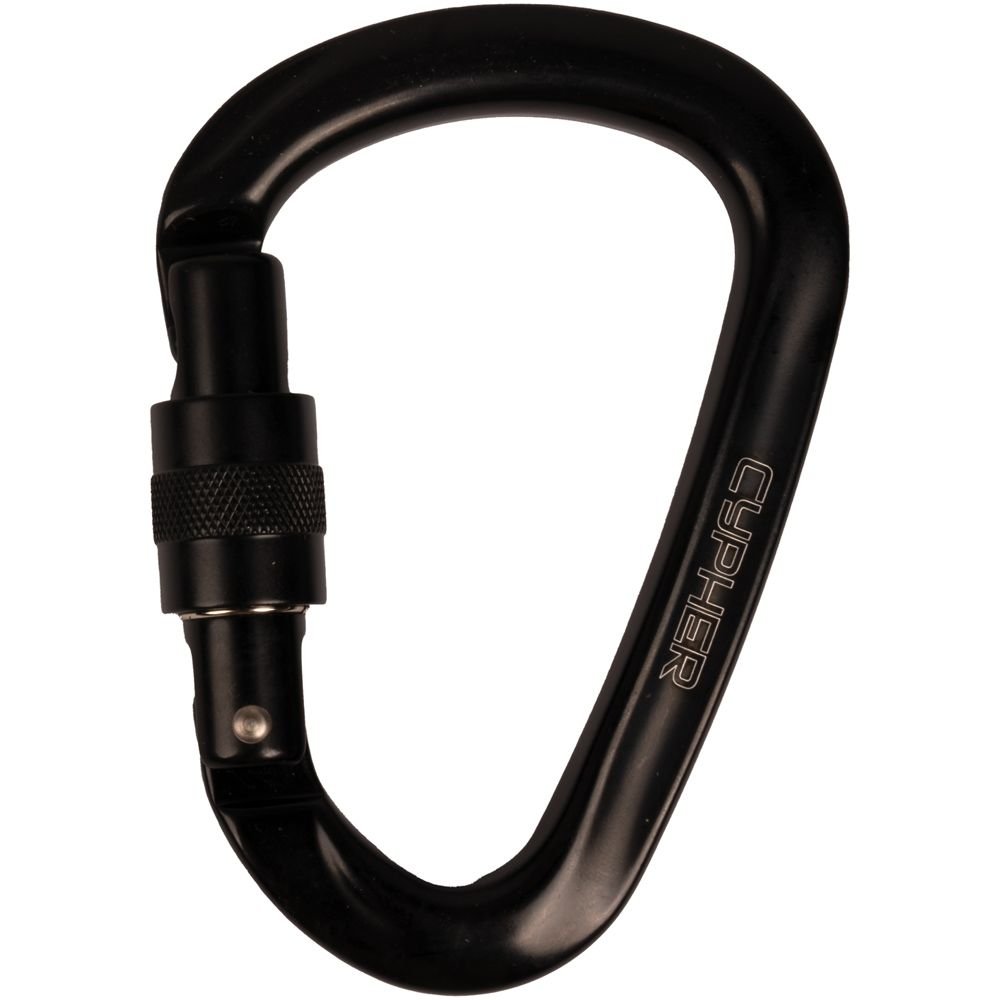
A carabiner block is made by placing a clove hitch on the spine of a carabiner, such that the combination securely blocks against the rapide. It helps if the carabiner has a round spine that is fat (phat!), such as the BD Rocklock. Tighten the clove hitch tightly, and lock the carabiner.
Again on this one, the rope bag side of the rope is safely tied off to the anchor.
Using a Biner or Knot Block
How are these used? Here's a few examples.
A short rappel is any rappel that uses less than half the length of the rope. Let's say the rappel is 40 feet, the rope is 120 feet, and the bottom of the rappel can be seen.
Short Rappel Sequence:
1. Thread the rope through the rapid link.
2. Pull rope through the link until the rope hits the bottom of the rappel.
3. Block the rope against the Rapide. This is called Setting the Rope Length.
4. Safety off the other side of the rope.
5. Folks rappel. With the rope length set correctly, folks can rappel to the bottom, then pull the end of the rope through their device and walk or swim away.
6. Last person: clean (unclip) the safety. Toss the rope bag down, holding onto the rope so it cannot get away. (If the bottom of the rappel is muddy or wet, the last person might do better to carry the rope bag down with them; or toss it to a catching person below.) Rappel single or double strand. (If the pull looks dodgy, clean the biner block and rappel double strand). Pull the rope, and stack it into the bag.
Two-Stage Short Rappel Sequence:
In this example, the rappel is done in two stages. Like the first rappel in Zion's Pine Creek, a two-stage rappel descends two drops that are close together off a single anchor. In Pine Creek, the first rappel is about 20 feet into a shallow pothole. Then the canyoneer walks 10 feet to the brink of the second rappel, goes back onto the rope and rappels 15 feet to the bottom of a second drop.
1. Thread the rope through the rapid link.
2. Pull rope through until you can see the rope hit the bottom of the rappel.
3. Block the rope against the Rapide, setting the rope length for the first stage.
4. The first person rappels into the first pothole, and walks to the edge of the second drop.
5. The rigger removes the biner block at the anchor, feeds through enough rope to set the length for the second drop (with the help of the first rappeler), and re-sets the biner block at the new length. Safety off the other side of the rope if appropriate.
6. Folks rappel. Into the first pothole, walk across, rap the second drop and pull the rope through the device.
7. Last person: clean the safety. Grab the rope, then toss the rope bag down (first and/or second drop). Rappel single or double strand. Pull the rope, stack into the bag.
Long Rappel
In this example, the rappel is long, and maybe goes through brush or trees. We will keep the rope bag with us, and use a pull cord to retrieve the rope.
Long Rappel Sequence
1. Thread the rope through the rappel ring.
2. Pull through 3 or 4 feet of rope and block the rope against the anchor. Safety off the short end.
3. Clip the rope bag to the side of your harness with a sling. Rappel, feeding rope out of the bag, through your device.
4. Send the other folks down. (cont.)
5. Last Person: clean the safety. Tie the end of the pull cord to the end of the main rope. Clip the pull cord bag to your harness. Rappel, letting the pull cord deploy as you go. Pull on the pull cord to clean the rappel.
Comments: Rappelling with the rappel-rope bag clipped to you is a royal pain. Kinks come out of the bag and try to hop out of your hand. Be careful. It is helpful to pull out 10 or 20 feet of rope at a time, and rap that length, then pull out more rope.
Once you get a clean shot to the bottom of the rappel, drop the bag, allowing the rope to deploy as it falls.
Same applies to the pull cord. Once you are in a position to get a clean drop, chuck it.
Those are the basics of biner blocks and pull cords. Pull cords are not as useful as real ropes, so carry them when appropriate, but only when really helpful.


